- Use a paper towel to coat the inside edge of the bottle mouth with a little bit of vegetable oil for lubrication.
- Dip the peeled egg in water
- Set the egg with the small end down in the mouth of the glass bottle. It should be slightly larger than the mouth of the bottle/top of the bottle, so it doesn't fall inside.
- Have an adult light a match to light the end of a strip of paper on fire.
- Lift the egg off of the bottle, drop the paper inside with the flame down, and quickly replace the egg. Watch the egg wiggle a little in the bottle mouth, and then get sucked inside as the bottle cools!
First, the science behind a hard-boiled egg: Egg whites are made of water and proteins.
Proteins are made of long chains of amino acids, but in an egg, the chains are clumped tightly together in individual spheres. (These are called "globular proteins.")
When the egg is heated, the proteins and water molecules begin to move faster. As they move and collide with each other, the individual protein chains start to denature, eventually bonding loosely with other protein chains, forming a network of proteins with water trapped inside. The consistency has changed from runny egg white to a soft solid!
How does this squishy-but-solid egg get mysteriously pushed inside the bottle?
The answer is all about the pressure of the air. When you first set the egg on the bottle, the air pressure inside the bottle matched the air pressure outside, so nothing happened.
When you dropped the burning paper through the neck of the bottle, it caused the air inside to heat up and expand rapidly. That expanding air pushed the egg aside and escaped from the bottle; that's why you saw the egg vibrating.
When the fire consumed all the oxygen inside the bottle, the flame went out and the remaining air in the bottle cooled down. Cool air takes up less space, exerting less pressure inside the bottle. The egg acted as a seal to prevent outside air from getting in to fill the extra space.
The result was an unbalanced force—the force of the air pushing on the egg from outside the bottle was greater than the force of the air pushing up on it from inside the bottle. Voila - the egg was pushed into the bottle!
The pressure inside the bottle must be higher than outside the bottle. To increase the pressure, turn the bottle upside down and tilt it until the small end of the egg is sitting in the mouth.
Now put your mouth close to the bottle and blow, forcing more air into the bottle and raising the pressure inside. When you take your mouth away, the egg should pop out - just be careful it doesn't hit you in the face!
- Hard-boiled eggs
- Food coloring
- Sodium bicarbonate (baking soda)
- Vinegar
- Bowls
- Paintbrushes
- Tongs
- Newspaper or paper towels
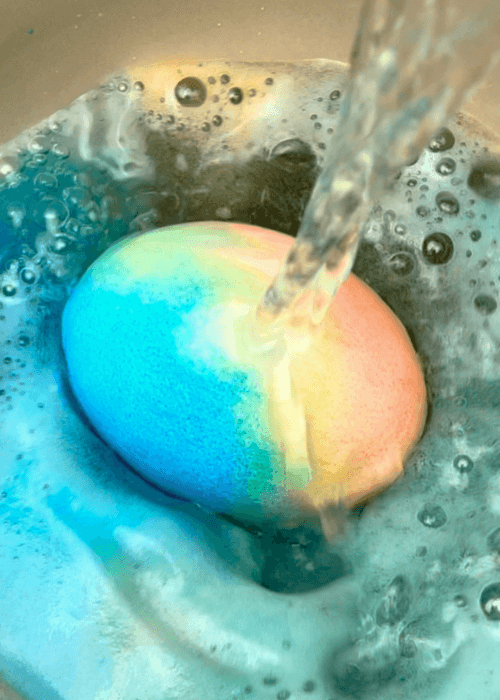
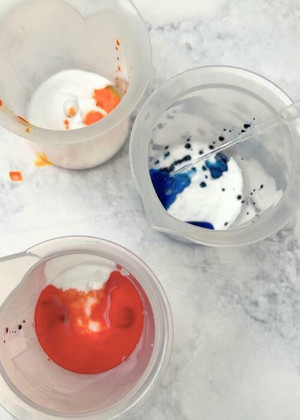
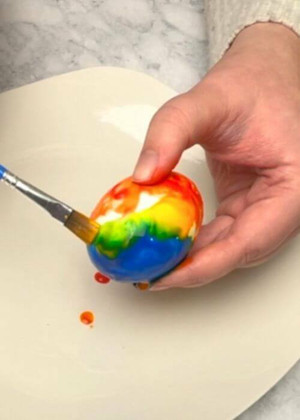
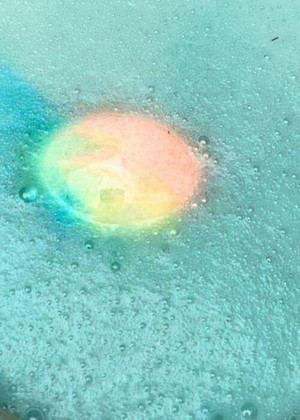
A basic chemical reaction between the baking soda (which is a base) and the vinegar (an acid) is what caused all the fizzing and bubbling! The baking soda made a type of paint when you mixed it with water and food coloring. After the chemical reaction, the baking soda and vinegar were mostly used up, leaving the dye behind on the eggs.
- Raw eggs
- Water
- Food coloring
- 250 ml beakers
- Funnel (optional)
- Plastic cups
- Epsom salt (magnesium sulfate), alum (aluminum potassium sulfate) or other solids commonly used to grow crystals, like Borax (sodium tetraborate), copper sulfate, etc.)
- White school glue and paint brush (for alum crystal geodes only)
- Crack the eggs close to the top of the narrow end. Remove yolk and white.
- Carefully place eggshell under warm running water and peel the membrane from the shell. Be very gentle! This part is tricky and requires much delicacy to avoid breaking the fragile eggshells.
- Once the membrane is removed and the eggshells are rinsed, invert them on a paper towel to dry.
- For alum crystal geodes, paint the inside of the shell with white glue. Then sprinkle with alum powder and let dry.
- To make supersaturated solution, use your microwave to heat 100 ml of water in a 250 ml beaker just until boiling. Remove the beaker using hot pads or heat-resistant leather gloves.
- Stir in your solid (Epsom salt, alum, etc.), one spoonful at a time. Your solution should be clear. Heat it up more if all the solid won’t dissolve.
- Add food coloring and let cool for about 10 minutes.
- Carefully submerge the eggshell. Or set it in a clean empty cup and use the funnel to fill it with the supersaturated solution.
- Leave the eggshell and supersaturated solution undisturbed for several days or longer.
- After a few days, you should start to see crystals forming inside your eggshell. Use a spoon to remove it from the solution, or carefully pour the supersaturated solution out of the eggshell.
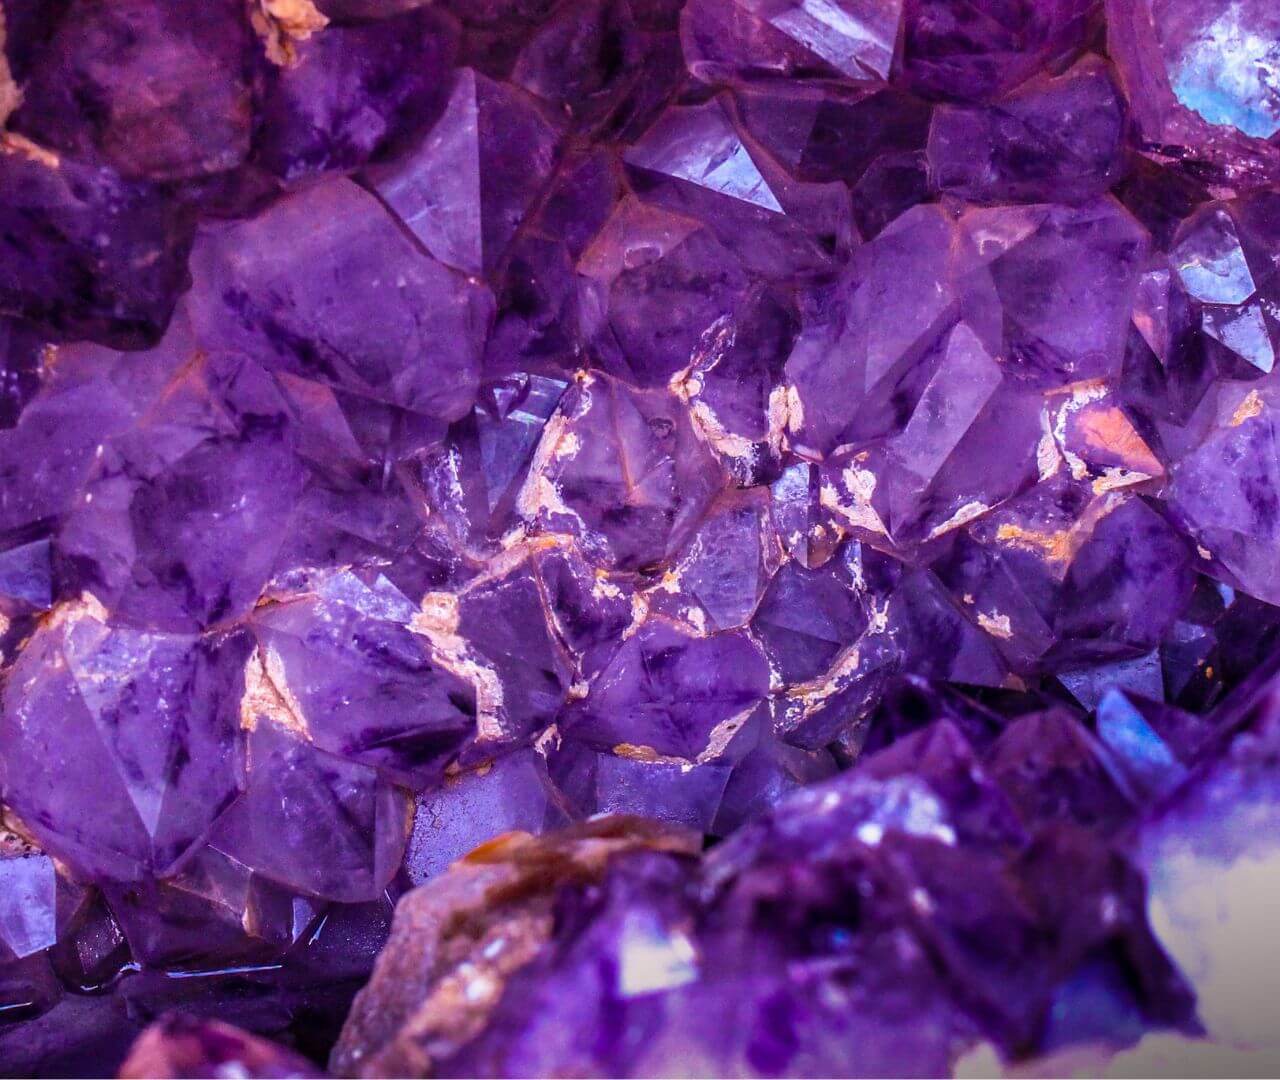
A crystal is a hard, solid substance made of molecules that bond together in specific patterns to form a shape with straight edges and flat surfaces. If you made more than one type of crystal eggshell geode, you saw that not all crystals have the same shape or size. The site where a crystal begins to grow, called its nucleation site, determines its size: fewer nucleation sites mean larger crystals, and many nucleation sites produce smaller crystals.
A few molecules of magnesium sulfate or aluminum potassium sulfate (or whatever solid you used) found each other in the solution and joined together in a crystal formation. More molecules joined until enough gathered to form a visible crystalline solid. Chemists refer to this as a crystal ‘falling out of’ the solution. If you left these crystals in the solution, they’d continue to grow.

