Dissection Tools
Dissection lab tools and equipment for biology labs.
Find the dissection equipment you need! HST sells standard, intermediate, and advanced dissection tools for elementary, middle, high school, and college life science labs.
All HST dissection tools and lab supplies come with our 60-day satisfaction guarantee.
What Others Are Saying About HST Dissection Tools
Choosing the Right Dissection Tools
Your dissection tools should match the goals of the dissection project. For example, if you’re conducting a beginner dissection (e.g., clam, earthworm) a basic dissection set would suffice. Basic instruments include dissecting scissors, forceps (or tweezers), scalpels, needles (straight and curved), and pipets.
For more advanced dissections, where precision counts (e.g., sheep brain), you would do better with an advanced dissection tool set. Why? Because you’ll need a ruler, T-pins, and multiple scalpel blades.
You can also buy one of our complete, all-inclusive dissection kits. You'll get a dissection specimen, tools, and a guide with each kit.
Dissection labs are more fun when the tools fit the hands using them. Your tools, ideally, will be functional and comfortable to handle. Comfort, as you know, is subjective.
That’s why detailed product reviews are helpful—at HST, we recommend that you read them before ordering.
You’ll also want to consider durability when choosing dissection tools. If you want fast, no-hassle cleanup, we offer disposable dissection instruments and safety gear. If you want reusable, long-lasting dissection tools we offer those, too. Most of our customers, particularly those who dissect at home, in a co-op, or public/private school lab, choose reusable tools. They provide the best value for your lab budget.
Cleaning Your Dissection Tools
It’s crucial that you clean dissection tools after using them. By cleaning, you’re protecting the tools against contamination and rust.
Clean your dissection tools with disinfectant soap and warm water. Or, if you prefer, use wipes (Lysol, ethanol, acetone). You can also use an Alconox solution, the top choice among industrial laboratories. Your dissection tray or pan, and the pad inside, must also be cleaned. Remove the pad first, and clean both items with the same disinfectants as your tools.
Be sure to dry your tools after cleaning them. The easiest method is to pat them with paper towels and then leave them to air dry. Check that they’re completely dry before you put them away. Why? Rust makes tools dull. Dull tools are dangerous tools!
Your dissection pan, tray, and lining pad must also be cleaned before reuse. Again, soap, warm water, or wipes will do.
You must also clean the surface of your workspace. For this job, use a pad with rubbing alcohol or Lysol.
Lastly, take off your gloves and wash your hands with soap and water. Your student(s) should do the same!
Dissection Safety
Follow these steps to ensure there are no accidents in your dissection lab:
- Never leave students unattended—especially young students.
- Have students cut "away" from themselves and others.
- Guide students to use the correct tool. They can make dissection cuts with scissors (easier to use) or scalpels (which take skill).
- Instruct students to place the scalpel blade face down when making cuts (not up).
- Change scalpel blades with a remover box.
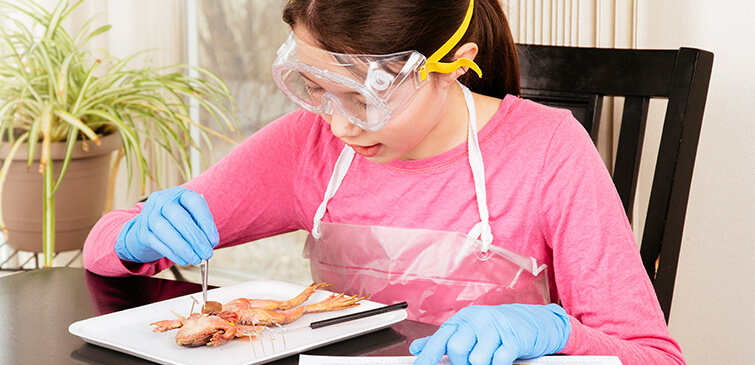
- Require students to wear nitrile gloves, eye protection, and lab aprons (disposable or reusable).
- Direct students to use a dissection tray or dissection pan while working. It will contain liquids and prevent sharp tools from slipping. The insert is there to support pinning.
If you have any questions, our customer service team loves to help!


