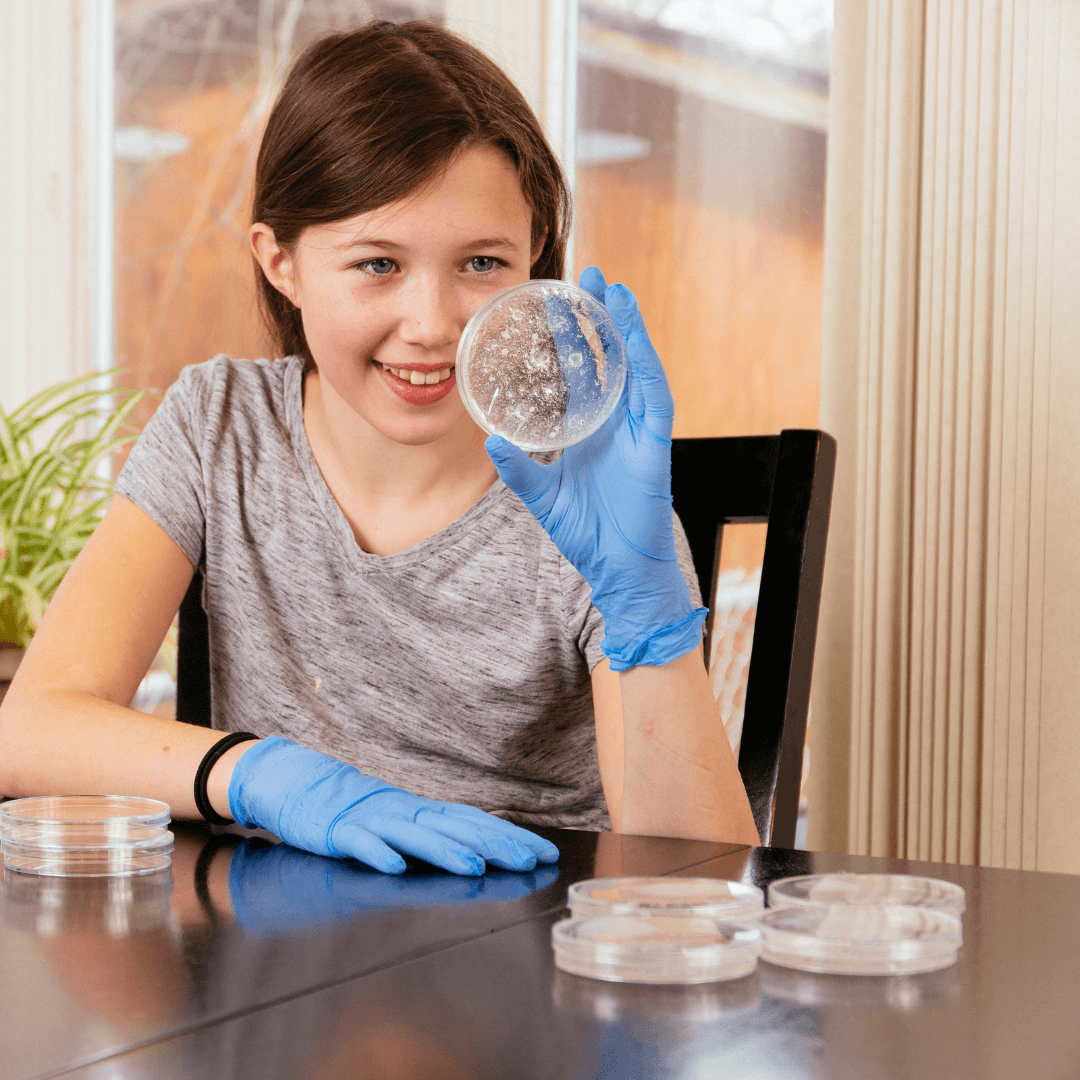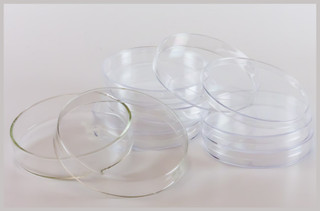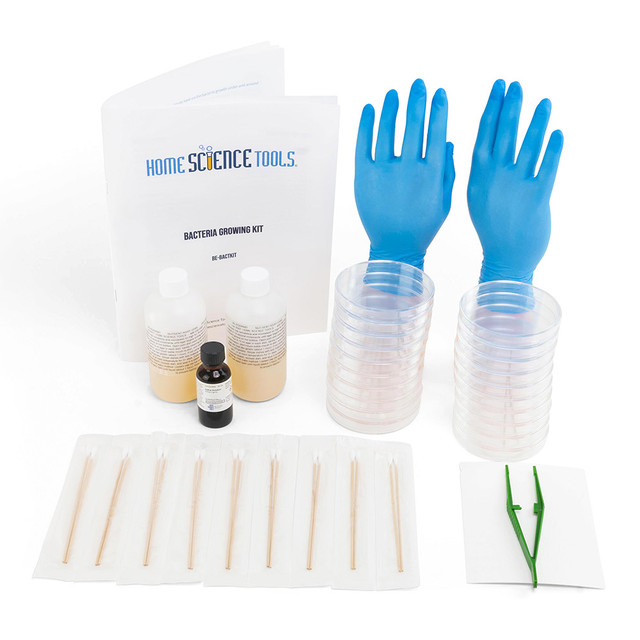
Growing and testing bacteria is a fun any-time project or a great science fair project. Bacteria are everywhere, and since they reproduce rapidly they are easy to study with just a few simple materials. All you need are some petri dishes, agar, and sterile swabs or an inoculating needle. Agar is a gelatinous medium that provides nutrients and a stable, controlled environment for bacteria growth. Most bacteria will grow well using nutrient agar, but some more fastidious bacteria (those with more complex nutrient requirements like Bacillus stearothermophilus, Branhamella catarrhalis, and Bacillus coagulans) prefer tryptic soy agar.
You also need a source for bacteria, and this is not hard to find! You can swab your mouth or skin, pets, soil, or household surfaces like the kitchen sink or toilet bowl. If you want to study a particular type of bacteria, you can also purchase live cultures. Keep reading to see four experiments using bacteria, and many more ideas for science projects (also consider this hands-on Bacteria Growing Kit)! Adult supervision is recommended when working with bacteria.
How Can Bacteria Help Us?
Where would we be without bacteria? Well, we might not be getting bacterial diseases, but we would still be a lot worse off! Bacteria perform all sorts of very important functions, both in our bodies and in the world around us. Here are just a few.
Digestion. Our large intestines are full of beneficial bacteria that break down food that our bodies can’t digest on their own. Once the bacteria break it down, our intestines are able to absorb it, giving us more nutrients from our food.
Vitamins. Bacteria in our intestines actually produce and secrete vitamins that are important for our health! For example, E. coli bacteria in our intestines are a major source of vitamin K. (Most E. coli is good for us, but there is a harmful type that causes food poisoning.)
Food. Bacteria are used to turn milk into yogurt, cheese, and other dairy products.
Oxygen. Cyanobacteria (which used to be called blue-green algae) live in water and perform photosynthesis, which results in the production of much of the oxygen we need to breathe.
Cleanup. Oil spills, sewage, industrial waste — bacteria can help us clean all of these up! They ‘eat’ the oil or toxins and convert them into less harmful substances.
Bacteria are amazing creatures, aren’t they? They can be so dangerous and yet so important at the same time. Keep reading to see an experiment that uses good bacteria!
How Can Bacteria Harm Us?
Some types of bacteria cause disease and sickness. These kinds of bacteria are called pathogens. They reproduce very rapidly, like all bacteria. These come in many forms and can cause illnesses from an ear infection to strep throat to cholera. They can get into our bodies via our mouth and nose, or through cuts and scrapes. Some are airborne, others are found in food, resulting in food poisoning. Bacteria are also the cause of plaque buildup on our teeth, which can lead to cavities and gum disease.
Before the discovery of antibiotics, many severe bacterial diseases had no cure and usually resulted in death. Antibiotics work by destroying bacteria or inhibiting their reproduction while leaving the body’s own cells unharmed. After a time, some bacteria develop resistance to an antibiotic, and it will no longer be effective against them. Because of this, scientists are always researching new antibiotics. (Many diseases, such as chicken pox, hepatitis, or polio, are caused by viruses rather than bacteria. Antibiotics have no effect against these diseases.)
Bacterial infections are common, but many of them can be avoided by good cooking, cleaning, and hand-washing practices.
What Are Antibacterial Agents?
How do people stop bacteria from growing and spreading? They control it in two ways: by killing the bacteria cells, and by stopping the bacteria from reproducing. An agent is a solution or method which either kills or stops reproduction. Bactericides are agents that kill bacteria cells. Static agents inhibit cell growth and reproduction.
There are a variety of ways to kill bacteria or keep it from reproducing.
Physical Methods:
- Sterilization. The application of heat to kill bacteria. Includes incineration (burning), boiling, and cooking.
- Pasteurization. The use of mild heat to reduce the number of bacteria in a food.
- Cold temperatures. Refrigeration and freezing are two of the most common methods used in homes, for preserving food’s life span.
Chemical Methods:
- Antiseptics. These agents can be applied directly to living tissues, including human skin.
- Disinfectants. These agents are not safe for live tissues. Disinfectants are used to clean toilets, sinks, floors, etc.
- Preservatives. These are used in almost every processed food that is available today. They inhibit bacterial growth in foods.
- Some food preservatives are: sodium benzoate, monosodium glutamate (MSG), sulfur dioxide, salts, sugar, and wood smoke.
Antibiotics
These kill the bacteria cells that are inside the body, without harming normal cells. Antibiotics often are able to cure once-fatal diseases, such as scarlet fever. However, they can kill good bacteria along with the bad.
- Amoxycillin and Ampicillin—inhibit steps in cell wall synthesis (building)
- Penicillin—inhibits steps in cell wall synthesis
- Erythromycin—inhibits RNA translation for protein synthesis
SAFETY NOTE:
While most environmental bacteria are not harmful to healthy individuals, once concentrated in colonies, they can be hazardous.
To minimize risk, wear disposable gloves while handling bacteria, and thoroughly wash your hands before and after. Never eat or drink during bacteria studies, nor inhale or ingest growing cultures. Work in a draft-free room and reduce airflow as much as possible. Keep petri dishes with cultured mediums closed—preferably taped shut—unless sampling or disinfecting. Even then, remove the petri dish only enough to insert your implement or cover medium with bleach or 70% isopropyl alcohol.
When finished experimenting, seal dishes in a plastic bag and dispose. Cover accidental breaks or spills with bleach or alcohol for 10 minutes, then carefully sweep up, seal in a plastic bag, and discard.

One method for testing the antibacterial effectiveness of a substance is to use ‘sensitivity squares.’ Cut small squares of blotter paper (or other absorbent paper) and then soak them in whatever substance you want to test: iodine, ethyl alcohol, antibacterial soap, antiseptics, garlic, etc. Use clean tweezers to handle the squares so you don’t contaminate them. Label them with permanent ink, soak them in the chosen substance, and blot the excess liquid with a paper towel.

Decide on a source for collecting bacteria. For using sensitivity squares, make sure there is just one source, and keep each dish as consistent as possible. Sources could include a kitchen sink, bathroom counter, cell phone, or another surface you would like to test. Rub a sterile swab across the chosen surface, and then lightly rub it across the prepared agar dish in a zigzag pattern. Rotate the dish and repeat.


- Label one dish ‘Control.’ Then in your test dish, use tweezers to add the sensitivity squares that have been soaked in a substance you wish to test for antibacterial properties. It’s a good idea to add a plain square of blotter paper to see if the paper by itself has any effect on bacteria growth. For best results, use multiple test dishes and control the variables so the conditions are identical for each dish: bacteria collected from the same place, exposed to the same amount of antibacterial substance, stored at the same temperature, etc. The more tests you perform, the more data you will collect, and the more confident you can be about your conclusions.
- Place all the dishes in a dark, room-temperature place like a closet.
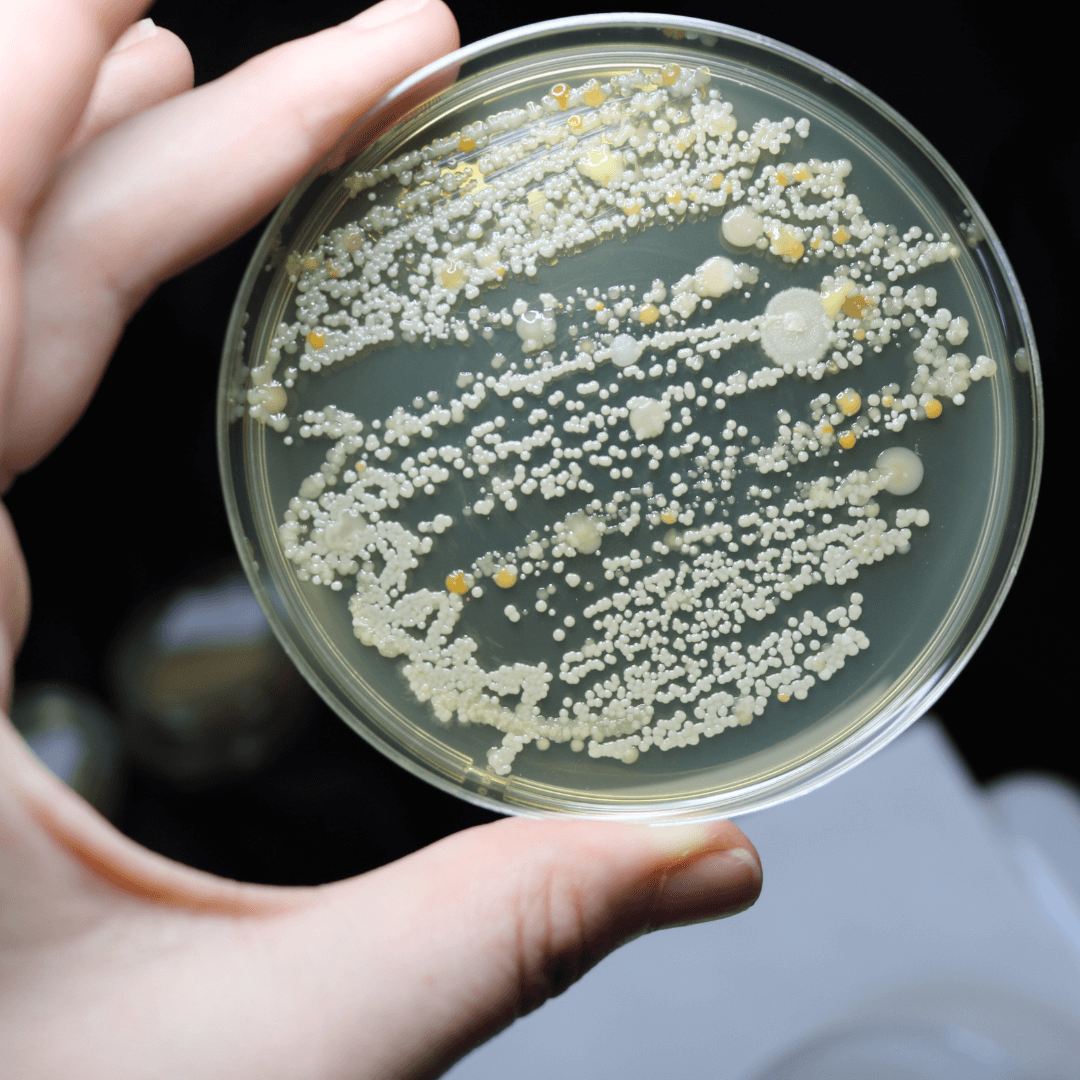
Wait 3-7 days and examine the bacteria growth in the dishes, without removing the lids. You will see multiple round dots of growth; these are bacteria colonies. Depending on where you collected your bacteria samples, you may have several types of bacteria (and even some mold!) growing in your dishes. Different types of colonies will have different colors and textures. If you have a compound or stereo microscope, try looking at the colonies up close to see more of the differences.
Compare the amount of bacteria in the control dish to the amount in the test dishes. Next, compare the amount of bacteria growth around each paper square. Which one has bacteria growing closest to it? Which one has the least amount of bacteria growing near it? If you did more than one test dish, are the results similar in all the test dishes? If not, what variables do you think might have caused the results to be different? How does this affect your conclusions?
For a variation on this experiment, test the effect of temperature on bacterial growth instead of using sensitivity squares. Put a control dish at room temperature, and place other dishes in dark areas with different temperatures.
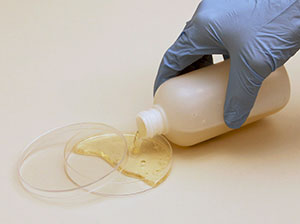
1. Prepare the agar according to the directions on the label, then pour enough to cover the bottom of each petri dish. Cover the dishes and let them stand for about an hour until the agar has solidified again. (If you aren’t going to use them right away after they have cooled, store them upside down in the refrigerator.)
2. When your petri dishes are ready, collect some bacteria from your hand or the hand of a volunteer. (Make sure the person hasn’t washed his or her hands too recently!) Do this by rubbing the sterile swab over the palm in a zigzag pattern.
3. Remove the cover from the petri dish and lightly rub the swab back and forth in a zigzag pattern on the agar. Turn the dish a quarter turn and zigzag again. Cover the dish and repeat steps two and three for the other dish, using a new sterile swab. Label the dishes “Test” and “Control.” (You may want to do more than one test dish, so you can compare the results.)
4. Cut the blotter paper into small “sensitivity squares.” Use permanent ink to label the squares for the different types of hand cleaners you are going to test, e.g., “R” for regular soap, “A” for antibacterial soap, and “S” for hand sanitizer. Using tweezers, dip each square into the appropriate cleaner. Blot the excess cleaner on a paper towel and then place the squares on the agar in the “Test” dish. (Spread the squares out so there is distance between them.) Add one square of plain blotter paper to test if blotter paper by itself has any effect. Don’t put any squares in the “Control” dish – this one will show you what the bacterial growth will look like without any soap.
5. Put the dishes in a dark, room-temperature place like a closet and leave them undisturbed for a few days.
The rate of bacteria growth in your dishes will depend on temperature and other factors. Check your cultures after a couple of days, but you’ll probably want to wait 5-7 days before recording your data. You will see multiple round dots of growth; these are bacteria colonies. There may be several types of bacteria growing in the dishes. Different types of colonies will have different colors and textures.
For each soap test, count and record the number of bacteria colonies in each dish. To see how effective each soap was, divide the number of colonies in the test dish by the number of colonies in the control dish, then subtract the result from 1 and write the answer as a percentage. For example, if your control dish had 100 colonies and your soap test dish had 30, the soap eliminated 70% of the bacteria: 1 — (30 ÷ 100) = .7 = 70%
According to your results, which type of soap was the most effective at eliminating bacteria? Does “antibacterial” soap really work better than regular soap? How well did washing hands in water without soap work? What further tests could you do to determine which soaps and hand washing methods are most effective at eliminating bacteria?
Experiment #4: Bacteria in the Air
You need two culture dishes for this experiment, in which you’ll demonstrate how antibacterial agents (such as antibiotics and household cleaners) affect bacteria growth.
- Leave the dishes with their lids off in a room-temperature location.
- Leave the culture dishes exposed for about an hour.
- While you wait, cut small squares of paper (blotter paper works well), label them with the names of the antibacterials you’re going to test (e.g. ‘L’ for Lysol, ‘A’ for alcohol, etc.), and soak each in a different household chemical that you wish to test for antibacterial properties. If you have time, you might also experiment with natural antibacterial agents, such as tea tree oil or red pepper.
- Wipe off any excess liquid and use tweezers to set each of the squares on a different spot in one of the culture dishes. The second culture dish is your ‘control.’ It will show you what an air bacteria culture looks like without any chemical agents.
- Store the dishes (with lids on) in a dark place like a closet where they will be undisturbed for a few days.
- After 3-7 days, take both culture dishes and carefully observe the bacteria growth in each dish, leaving the lids on. The bacteria will be visible in small, colored clusters. Take notes of your observations and make drawings.

You could also answer the following questions. In the control culture, How much of the dish is covered with bacteria? In the sensitivity square test culture, Have the bacteria covered this dish to the same extent as the control culture? What effect have each of the chemicals had on the bacteria growth? Did a particular chemical kill the bacteria or just inhibit its growth?
- For further study you could use an antibiotic disc set to see what different antibiotics can do against bacteria.
- For a more advanced project, learn how gram staining relates to the use of antibiotics.
Experiment #5: Homemade Yogurt
Generally when people think of ‘bacteria,’ they think of harmful germs. However, not all forms of bacteria are bad!
You can enjoy a tasty product of good bacteria by making a batch of yogurt at home.
You’ll need to use a starter (available at grocery or health food stores), or else one cup of plain, unflavored yogurt that has live cultures in it. (If it contains live cultures, it will say so on the container.)
Slowly heat four cups of milk until it is hot, but not boiling or scalding. The temperature should be around 95-120 degrees to kill some of the harmful bacteria. Cool slightly, until milk is warm, and then add one cup of active yogurt or the starter.
Put the mixture in a large bowl (or glass jars) and cover. Make sure that the bowl or jars are sterilized before using by either running them through the dishwasher or washing them with very hot water.
There are two different methods for culturing the yogurt mixture: You can put the covered bowl or jars into a clean plastic cooler, and fill the cooler with hot water to just below the top of the culture containers. With this method, you will need to occasionally refill the cooler with hot water, so that the temperature of the yogurt stays consistent. The other method is to wrap the containers in a heating pad and towels, setting the heating pad on low to medium heat.
Check the mixture after heating for 3 1/2 to 4 hours. It should be ‘set up,’ having a smooth, creamy consistency similar to store-bought yogurt. If the mixture is not set up yet, heat it for another 1-2 hours. When it is the right consistency, add some flavoring—such as vanilla extract, chocolate syrup, or berries—and store the yogurt in the refrigerator. It should keep for a couple of weeks. For safety, we suggest that you do not eat any yogurt that has separated or has a non-typical consistency.
FREE Germs & Bacteria eBook
Lessons and experiments to do at home.

What's InSIDE?
› Learn About Germs vs. Bacteria
› Germ Gel Experiments
› Germ Powder Experiments
› See How Germs Spread
› How to Grow Bacteria


